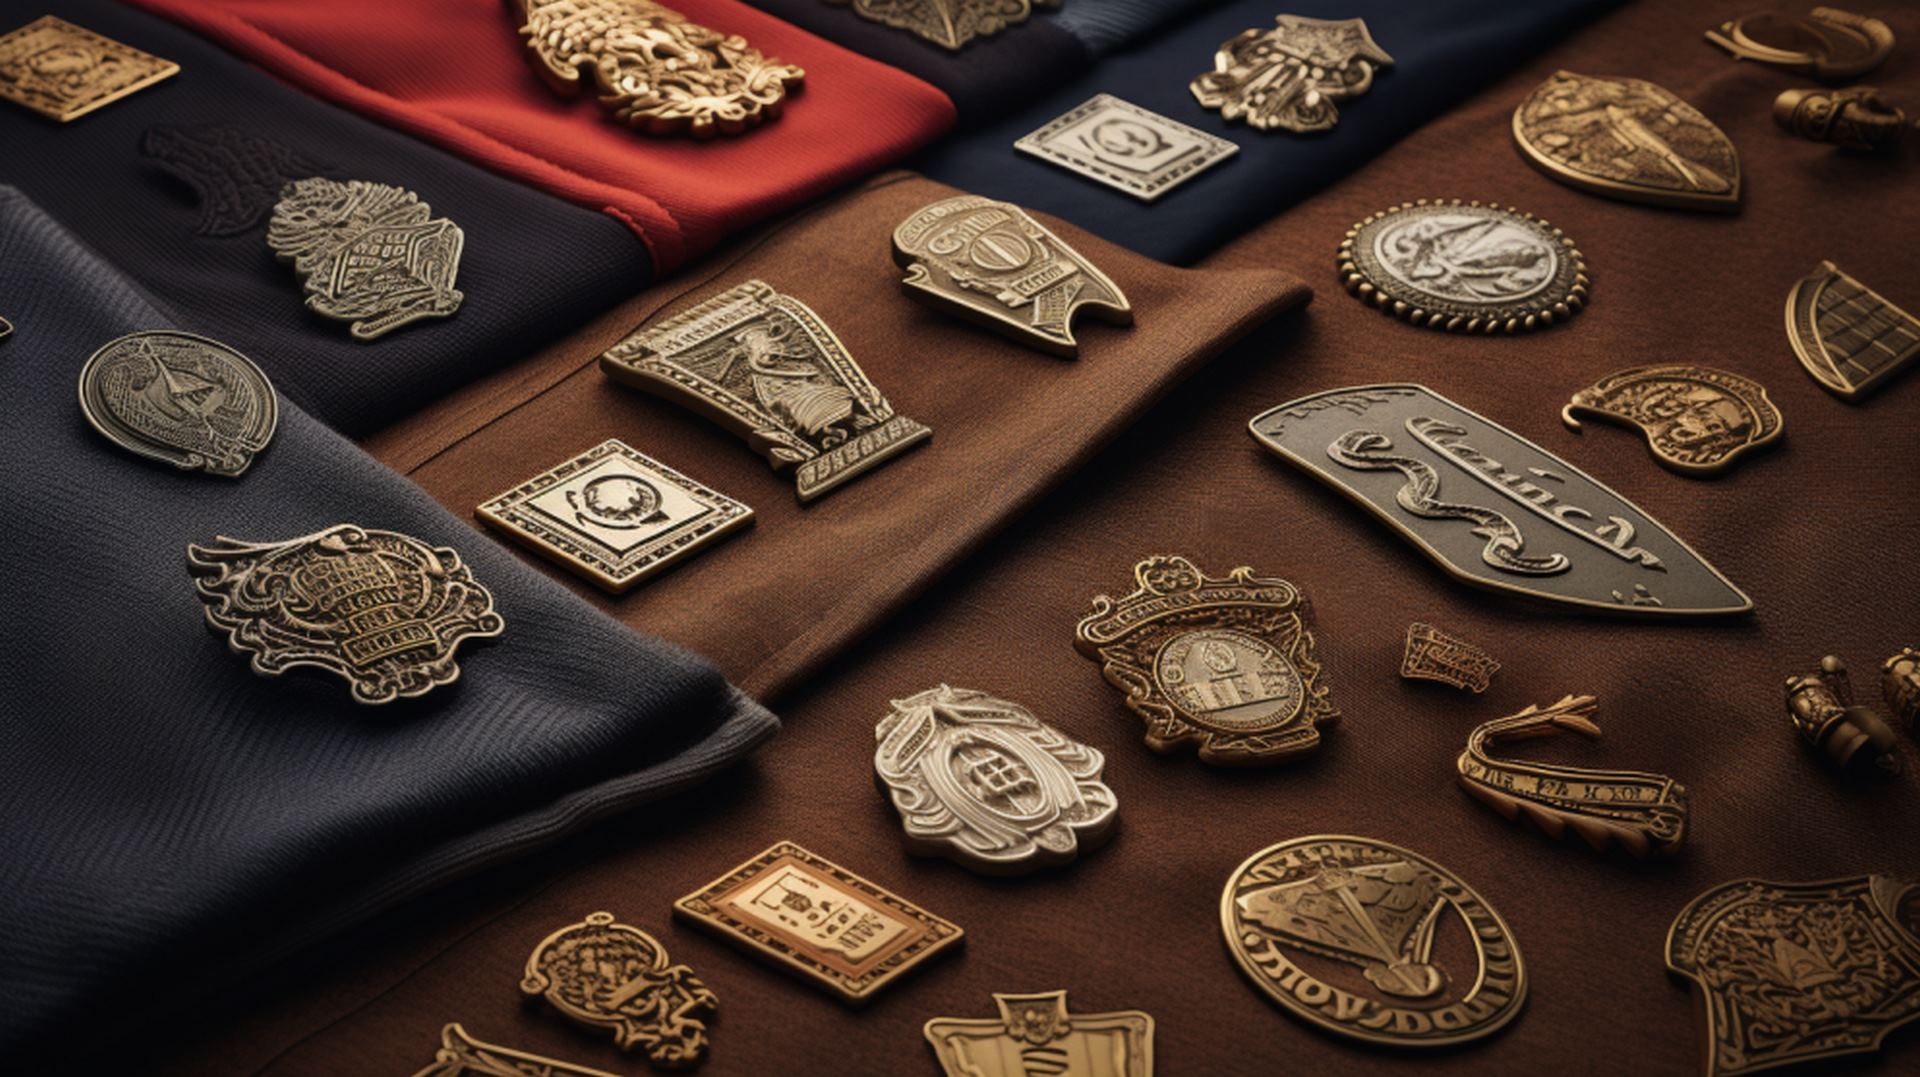
Are you searching for the perfect way to add a touch of personal style to your clothes? Look no further! In this article, we will guide you through the exciting world of creating personalized metal badges.
With just a few materials and some simple steps, you'll be able to design unique badges that reflect your individuality. From choosing the right materials to securely attaching them, we've got you covered.
Let's dive in and start crafting those eye-catching badges!

If you're looking for different types of metal badges to embellish your clothes, we've got you covered. Metal badges come in various styles and designs, allowing you to find the perfect one that suits your taste and clothing style.
One popular type is the enamel badge, which features vibrant colors and a glossy finish. These badges are eye-catching and add a pop of color to any outfit.
Another option is the embossed metal badge, which creates a raised design on the surface. This type adds texture and dimension to your clothes, making them stand out from the crowd.
For those who prefer a more minimalistic look, there are also simple metal badges available. These badges usually have clean lines and understated designs that complement any attire without overpowering it.
Additionally, if you want to add a touch of elegance to your outfits, consider opting for gold or silver plated metal badges. These metallic finishes give off a luxurious vibe and instantly elevate your ensemble.
As we move forward into discussing the materials and tools needed for making metal badges…

To make your own metal badges, you'll need a few materials and tools. Here are the four essential items you'll need:
With these materials and tools at hand, you're ready to start designing personalized metal badges for clothes! Now let's move on to how you can create unique designs for your badges by following a step-by-step guide.
In this next section, we will explore how to design personalized metal badges using simple techniques and creative ideas.

Now that you've gathered the necessary materials and tools, let's dive into the step-by-step process of designing your own unique metal badges.
First, start by sketching out your badge design on a piece of paper. This will help you visualize how you want your badge to look and make it easier to transfer the design onto the metal surface later on.
Next, use a pencil or marker to trace your design onto a sheet of metal. Make sure to press down firmly so that the lines are visible. Once you're satisfied with the traced design, take a metal cutting tool and carefully cut along the lines. Be sure to wear protective gloves and goggles while cutting.
After cutting out your badge shape, smooth any rough edges using sandpaper or a file. This will give your badge a polished finish.
Now comes the fun part - adding custom details! In our next section, we'll share some tips and tricks for making your metal badges truly one-of-a-kind.
TRANSITION: Now that you have designed and shaped your personalized metal badge, let's move on to exploring tips and tricks for adding custom details that will make it stand out even more!

Once you've shaped your metal badge, it's time to start adding those unique custom details that will make it truly stand out. Here are some tips and tricks to help you achieve that:
By utilizing these techniques, you can elevate the overall appearance of your metal badges and make them truly one-of-a-kind pieces.
Now that you've added those unique custom details to your metal badges, let's move on to discussing how to securely attach them to clothes without causing any damage or discomfort.
Related Article: Is It Safe to Wear a Magnetic Badge

By utilizing these techniques, you can securely attach metal badges to clothing without causing any damage or discomfort.
When attaching a metal badge to your clothes, it's important to choose the right method to ensure it stays in place and doesn't cause any harm.
One effective technique is using a pin backing. Simply insert the pin through the fabric and fasten it securely at the back. This provides a secure attachment while minimizing damage to your garment.
Another option is using a sew-on method. With this technique, you can stitch the badge onto your clothing using needle and thread. Make sure to choose a strong thread that matches the color of your badge and fabric for a seamless look. Sewing on the badge not only ensures its secure attachment but also allows for easy removal when needed.
If you prefer an even more secure attachment, consider using adhesive options such as fabric glue or heat-activated adhesive patches. These methods require careful application and following manufacturer instructions for best results.
Remember, when attaching metal badges to your clothes, always consider the material of both the badge and garment to avoid any potential damage or discomfort.
As you step back and admire your unique creation, a sense of pride washes over you. The personalized metal badge you've crafted with your own hands perfectly complements your favorite jacket, adding a touch of individuality to your style.
With the right materials and tools, along with a little creativity and attention to detail, you can transform any piece of clothing into a statement piece. So go ahead, unleash your imagination and embark on this creative journey ?the possibilities are endless!
Gold Hot specialize in customized metal and non-metal logo plates, including Metal Badges, serving diverse industries worldwide. We can provide any designs as your requested--- different shape and size by your own logo.
Contact us for a free quote of customizing metal badges for clothes!

