Creating personalized metal tags can be a rewarding and practical craft. From identifying belongings to adding a touch of uniqueness to gifts, metal tags serve various purposes.
The process of making these tags involves a series of meticulous steps that require attention to detail and a steady hand. By following a systematic approach and utilizing specific tools and techniques, crafting metal tags can be an engaging and fulfilling endeavor.
Let's explore the methodical process that goes into bringing these small pieces of metal to life.


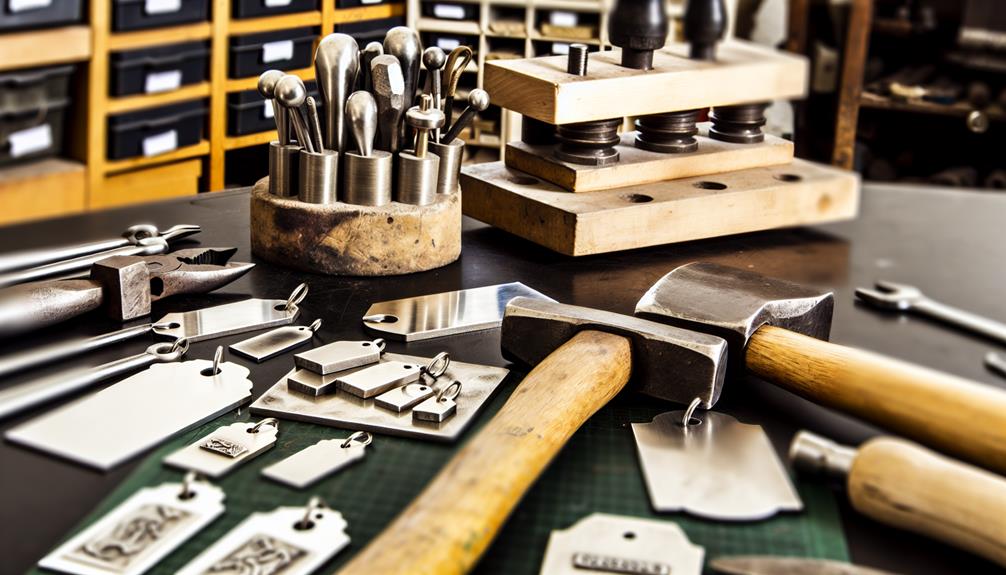
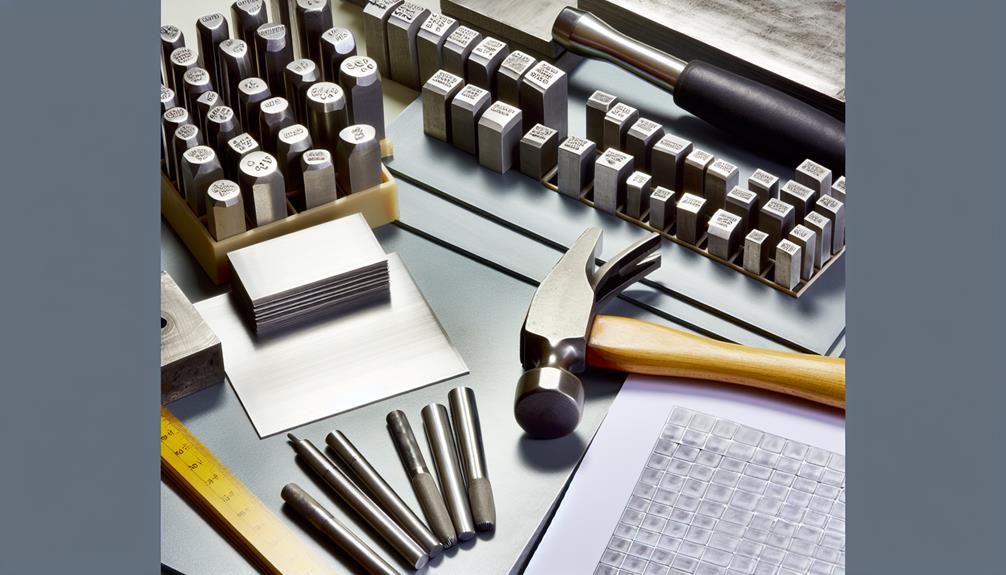
Various essential materials and tools are required for making metal tags effectively. When engaging in metal engraving for tag customization, precision is key. The primary material needed is the metal itself, typically aluminum, stainless steel, or brass, depending on the desired durability and aesthetics. Alongside the metal, a rotary engraving tool is essential for etching the design onto the tag surface accurately. Additionally, a computer with design software is crucial for creating and transferring the desired tag design onto the metal before engraving.
To ensure a smooth engraving process, protective gear such as safety goggles and gloves are necessary to prevent any potential injuries. Moreover, a ruler or caliper is vital for measuring and ensuring precise placement of the design elements on the metal tag. A worktable with proper lighting and ventilation is also recommended to create a comfortable and efficient workspace for metal tag engraving. By having these materials and tools ready, individuals can effectively craft customized metal tags with professionalism and precision.

Prior to engraving, the metal surface must undergo meticulous preparation to ensure optimal results. This crucial step involves cleaning and priming the metal to create a smooth and suitable surface for engraving. To achieve the best outcomes, follow these essential steps:

To proceed from preparing the metal surface to the next crucial step in the metal tag creation process, meticulous attention to designing and transferring your envisioned design accurately is paramount. Design inspiration plays a pivotal role in this phase, where creativity meets precision. Begin by sketching your design on paper or using graphic design software to ensure clarity and accuracy in translating your vision onto the metal tag.
Various transfer techniques can be employed to transfer your design onto the metal surface effectively. One common method is using transfer paper, where the design is printed onto the transfer paper and then transferred onto the metal through heat or pressure. Alternatively, you can use stencil techniques by cutting out the design on a stencil sheet and applying paint or ink over it onto the metal tag.

For the next phase in the metal tag creation process, the metal surface is typically etched or stamped to imprint the design onto the tag. This step is crucial in achieving a professional and long-lasting finish.
Here are some key points to consider during the etching or stamping process:

After completing the process of etching or stamping the metal for the metal tags, attention must now be directed towards applying finishing touches and ensuring proper care to enhance the overall appearance and longevity of the tags.
When it comes to polishing techniques, consider using a soft cloth and a gentle metal polish to remove any smudges or fingerprints that may have accumulated during the crafting process. Protective coatings, such as clear lacquer or enamel, can be applied to safeguard the tags from tarnishing or scratching, preserving their pristine look.
For storage solutions, it is advisable to keep the metal tags in a dry and cool environment to prevent corrosion or discoloration over time. Regular cleaning methods involve using a mild soap and water solution to gently cleanse the tags, followed by thorough drying to prevent water spots.
Laser engraving offers a precise and efficient method for marking metal tags. Through its cutting process, a laser machine can create intricate designs with high accuracy. Material compatibility is crucial to ensure successful engraving results.
When etching metal tags, several safety precautions are crucial. Protective gear, proper ventilation, and adherence to manufacturer guidelines are essential. Avoid contact with chemicals, use designated tools, and work in a well-lit area. Prioritize safety to prevent accidents or health risks.
Color customization and additional embellishments can be added to metal tags after etching or stamping. Design possibilities include enamel filling, laser engraving for coloration, and attaching gems or charms. Personalization techniques can enhance the aesthetics and uniqueness of metal tags.
The etching or stamping process for a single metal tag typically takes between 5 to 15 minutes per tag, depending on complexity. Etching offers durability, while stamping allows for various finishing options to customize the tag further.
To ensure the longevity of metal tags, follow these care instructions. Regularly clean with a mild soap solution and soft cloth. Avoid harsh chemicals that may damage the metal. Store in a dry, cool place to prevent tarnishing.
In conclusion, creating metal tags is a rewarding and creative process that can be done with the right materials and tools. By following the steps outlined in this guide, you can produce personalized metal tags that are unique and long-lasting.
Remember to take care of your finished tags by cleaning and storing them properly to maintain their appearance. Enjoy the process of making your own metal tags and have fun experimenting with different designs and techniques!
Elevate your brand or project with our specialized metal and non-metal nameplates. Gold Hot Industrial Co., Ltd. pioneers bespoke designs, catering to various industries. Whether for furniture labels, advertising, crafts, or more, our precision stamping and casting machines ensure top-quality products.
Contact us for a free quote for customizing your Metal Logo Plates!

